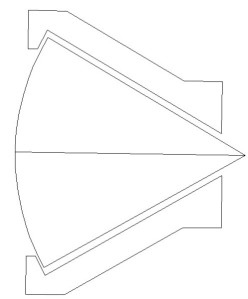
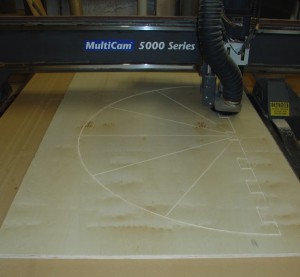
The next step in constructing our table involved creating a substrate to fasten our table top too. This is necessary to provide structural support for the 12 wedges. We decided that ¾” plywood would provide the support needed. We did the layout for the substrate in our cad program…we used a series of interlocking notches for alignment and scored lines as reference points for placement of the wedges.
We decided to glue the 12 wedges into 6 sets…then we would glue together 3 sets to make 2 halves to our table top.
The irregular shape of the wedges created a unique clamping problem…bar clamps tend to slide along the angle of the wedges as pressure is applied. We designed a clamp jig in our Cad program that allows for linear pressure across the wedges…problem solved.

We used ratchet straps to glue together our 2 table top halves each consisting of 3 paired wedges. We will let the glue cure overnight and then join the 2 halves together.
Part three of this project will focus on the mounting of the table top to the substrate and machining for our ebony inlay…Looking forward to tomorrow!!!!


